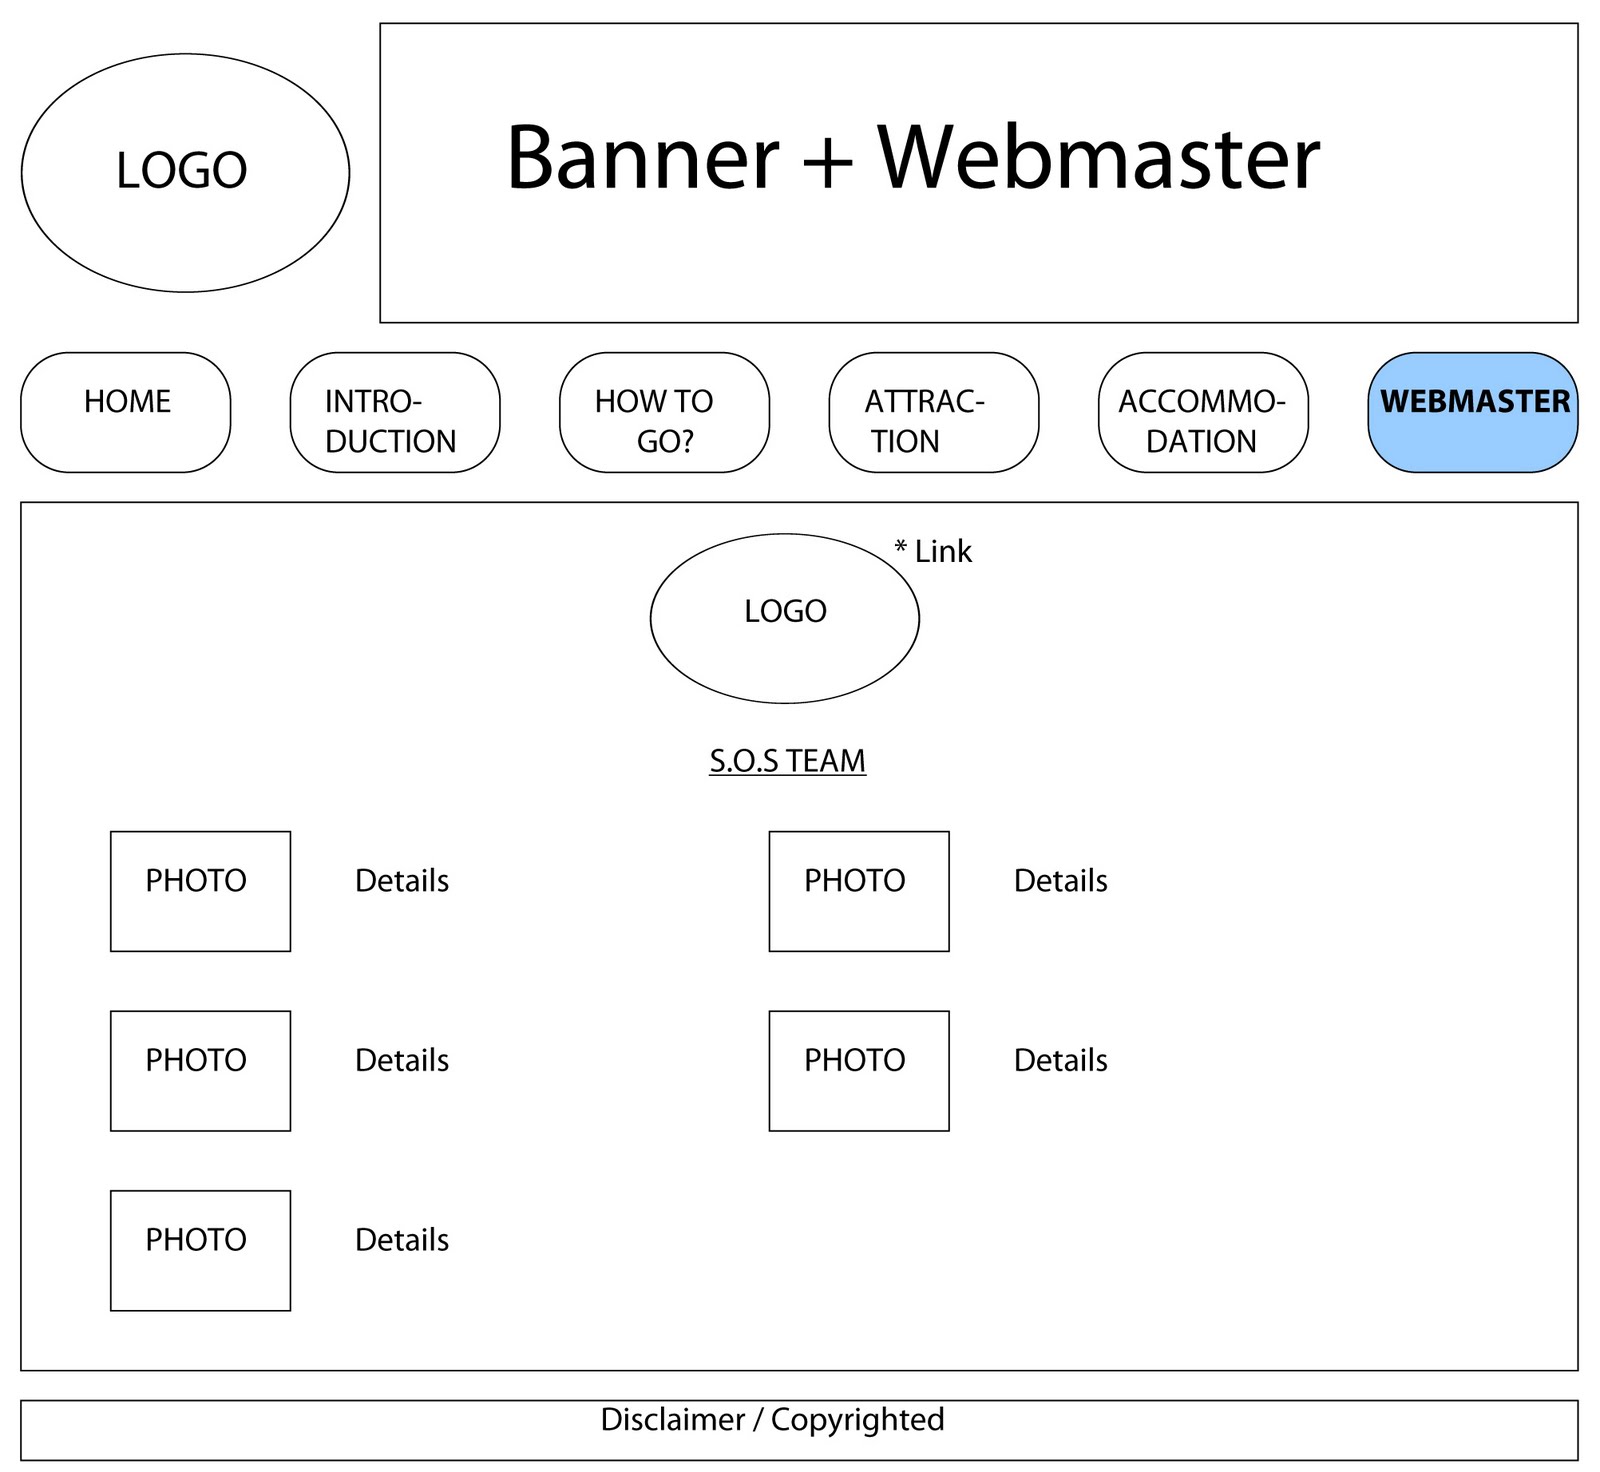
Tuesday, September 6, 2011

[A3] The progress of Webmaster webpage ( using Dreamweaver )


Webmaster webpage


Page 1


Banner for webmaster


buttons for webmaster

this is the pictures
edited using Adobe Photoshop
(Reference : http://news.bbc.co.uk/2/hi/uk_news/wales/2463563.stm )


1st - click on "Form" icon


to create a box like the above


2nd - insert the Q&A picture inside


3rd - click on "Text Field" icon


to create name box in order to enter the name of the viewer


4th - click on "Spry Validation Text Field"


to create the email box specific to let the viewer to enter the email address only


5th - create the comment box (same as 3rd step) with Multi line
to let the viewer to enter the comment


6th - hightligh the 3 boxes and click on "button" icon to create submit button
in order to let viewer submit it after enter all in the boxes

Reference : ( link 1 , link 2 , Adobe Dreamweaver CS4 E-book - Topic 8 Working with Forms )

Page 2


add on this pictures in page 2


1st - create table which consist of 3 rows and 4 column
in order to organize the details


2nd -  set the table border = 0


3rd - insert pictures in first and third column


4th - insert the detail of each profile of the picture


[A3] The progress of Home webpage (using Dreamweaver )

Home webpage


this is the banner for Home Webpage


This is 3 different type of buttons for Home Webpage


this is the pictures
edited with adobe Photoshop 
(Reference :  link 1 , link 2 )


1st - create table to build our website
then, insert logo and banner inside upper part


this is the table for our whole website
align = center
 border = 0


properties of banner
W = 829
H =  302


Properties of logo
W= 202
H = 158


2nd - create table with 1 row and 6 column 
to organize the button properly and neatly


This is the arrangement of the button


3rd - I create table with 2 columns and 1 row.
then i insert flash , images and subtopics inside
and then link the subtopic and image one by one


4th - create anchor near the logo and named it as "top"
( Reference : more about anchor )


5th - highlight "back to top" and then link to the anchor which named as "top"
so that when we click on it then it will move up.


Saturday, August 20, 2011

[A3] Pulau Kapas - Webmaster


Webmaster

Description on the individual ideation of the link
-          Introduce team of webmasters
-          Provide the info of webmasters such as name, contact, majoring and so on
-          Provide the questionnaire links
    
Objective of the link
-          Can ask the webmaster if have any inquiries
-          Know about the webmaster so that they do not feel doubt
-          Want to let the viewer about the team of webmasters

         Design of GUI


This is the layout of webmaster page. There is the logo link and Q& A part. Under the Q&A section, there will be name, email and comments for the viewer to key in details and comments or questions.


This is the interface after you click into the logo links. This will have the photos and have more details about each of our S.O.S Team members.


Flow Chart of individual site


Adobe Photoshop will be used to edit and create the banners,pictures and buttons of the website.
Adobe Dreamweaver will be used to create the website.
Adobe Flash will be used to create the flash of our website. 

Friday, July 22, 2011

[A1] The pictures that I've been used for my E-wallpaper

Flying books

Many Students

Happy Women Student

Bird

FOM 1

Lecture Hall 

FOM Counter

FOM 2

MMU Logo

Firework Background